From physical SIM to eSIM on iPhone
Going from a physical SIM to an embedded SIM (eSIM) on an iPhone. The steps to transfer and the first impressions of having two SIM's active.
In this article, I explore my decision to transition from a traditional physical SIM card to an embedded SIM (eSIM) on my iPhone, and how I utilised the now-free slot for a second number dedicated to business purposes.
This change aimed at better managing personal and business communications on a single device, promising convenience and an improved work-life balance.
Why the Switch?
The motivation behind adopting an eSIM and adding a second physical SIM was driven by the desire for greater flexibility in managing my digital life.
By switching to an eSIM for my personal number via Vodafone NL and selecting a different provider for my business line, I aimed to streamline my communications without carrying multiple devices.
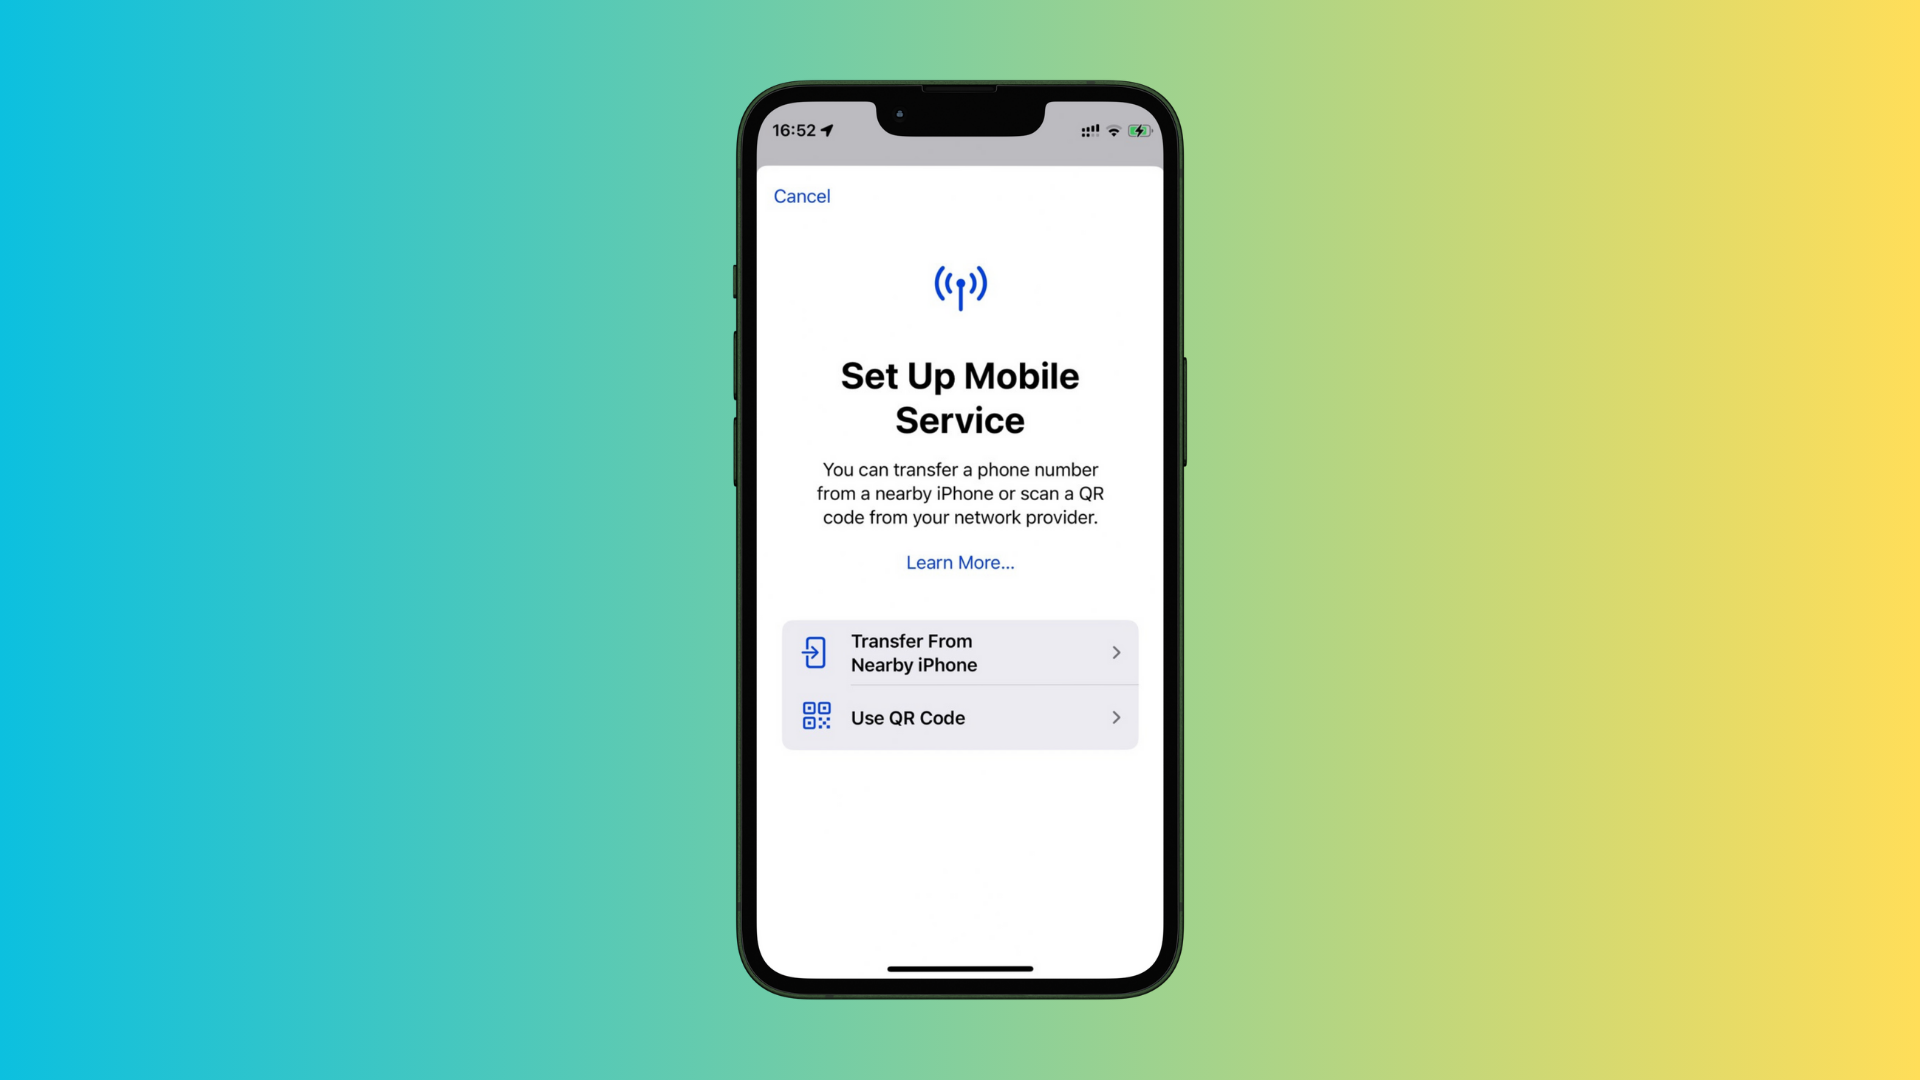
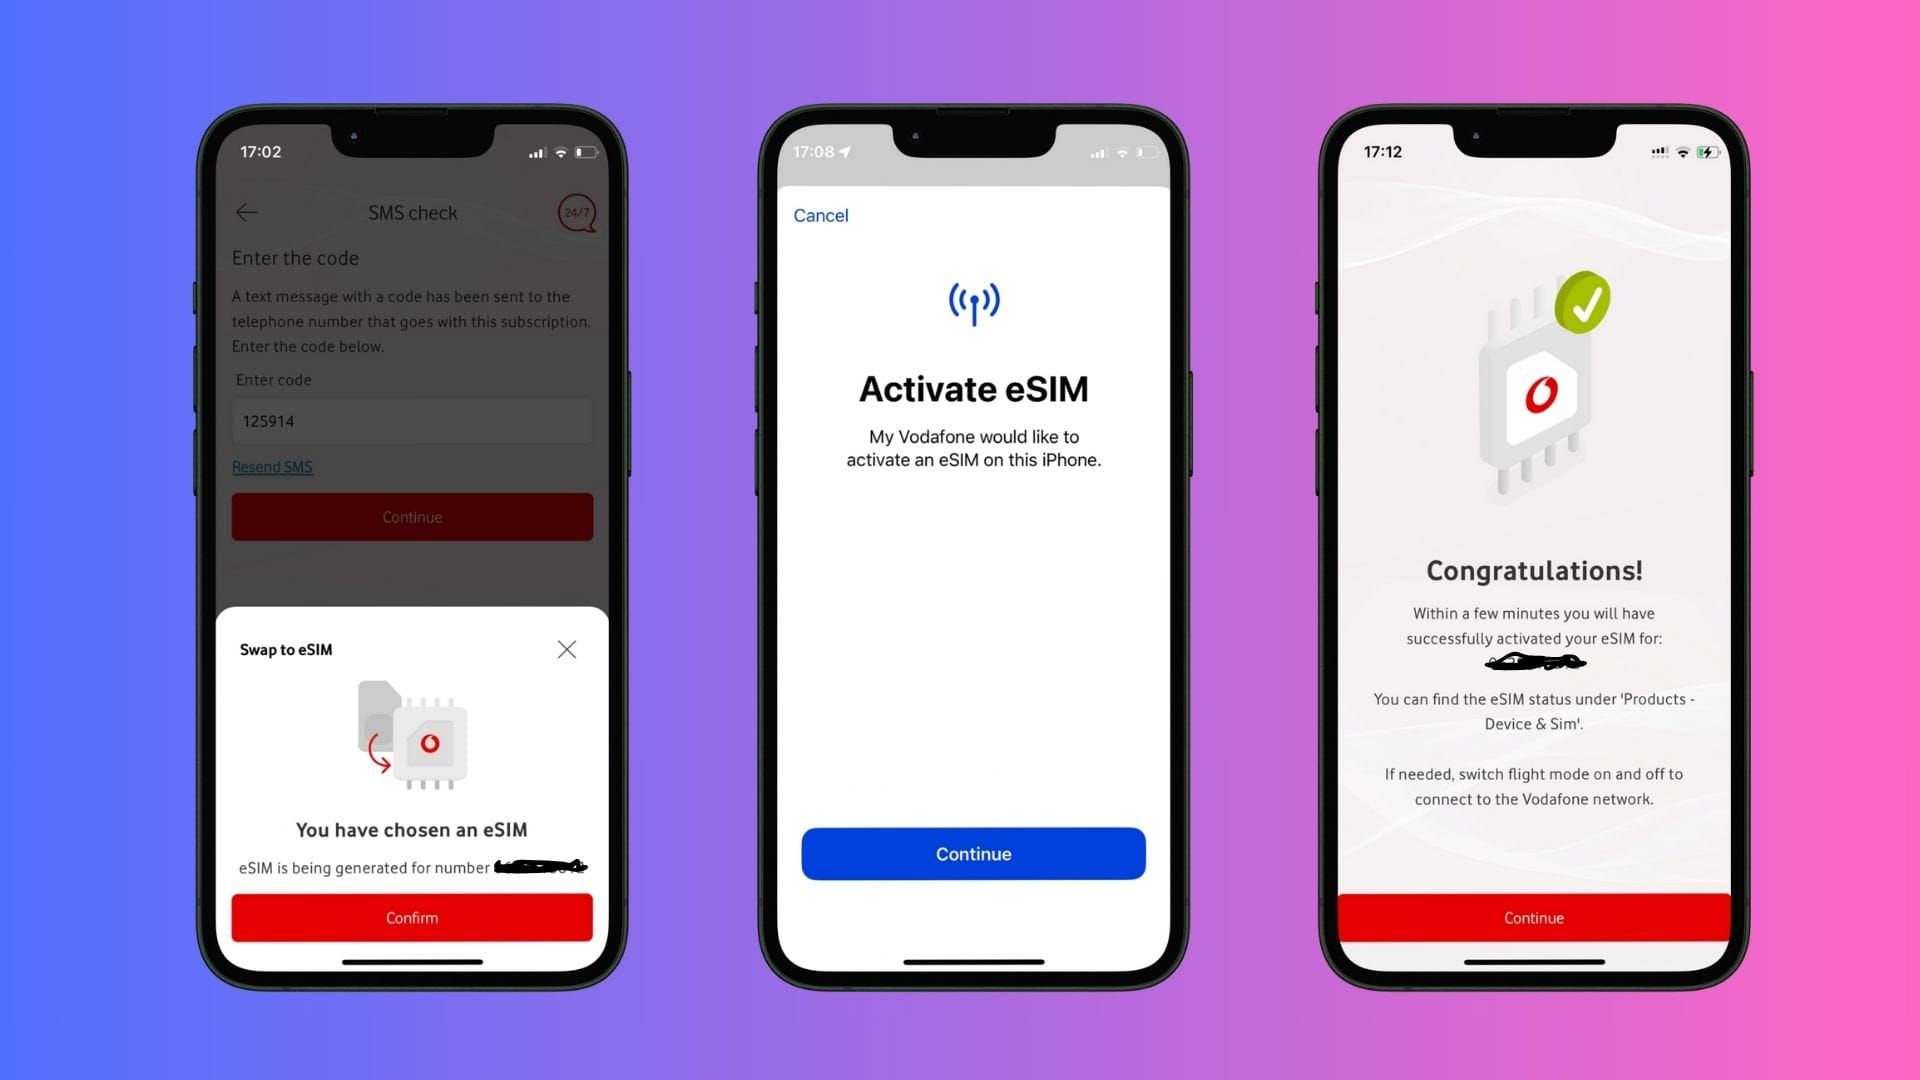
Step-by-Step Process through Vodafone NL App
Transitioning to an eSIM was a straightforward process, facilitated by the Vodafone NL app.
Here's how I did it:
- Initiate the eSIM Setup: Within the Vodafone NL app, I followed the prompts to convert my physical SIM to an eSIM.
- Follow Instructions: The app provided detailed instructions, including scanning a QR code to install the eSIM profile.
- Activate the eSIM: After installation, I ensured the eSIM was active and functioning correctly before proceeding to install the physical SIM for my business number.
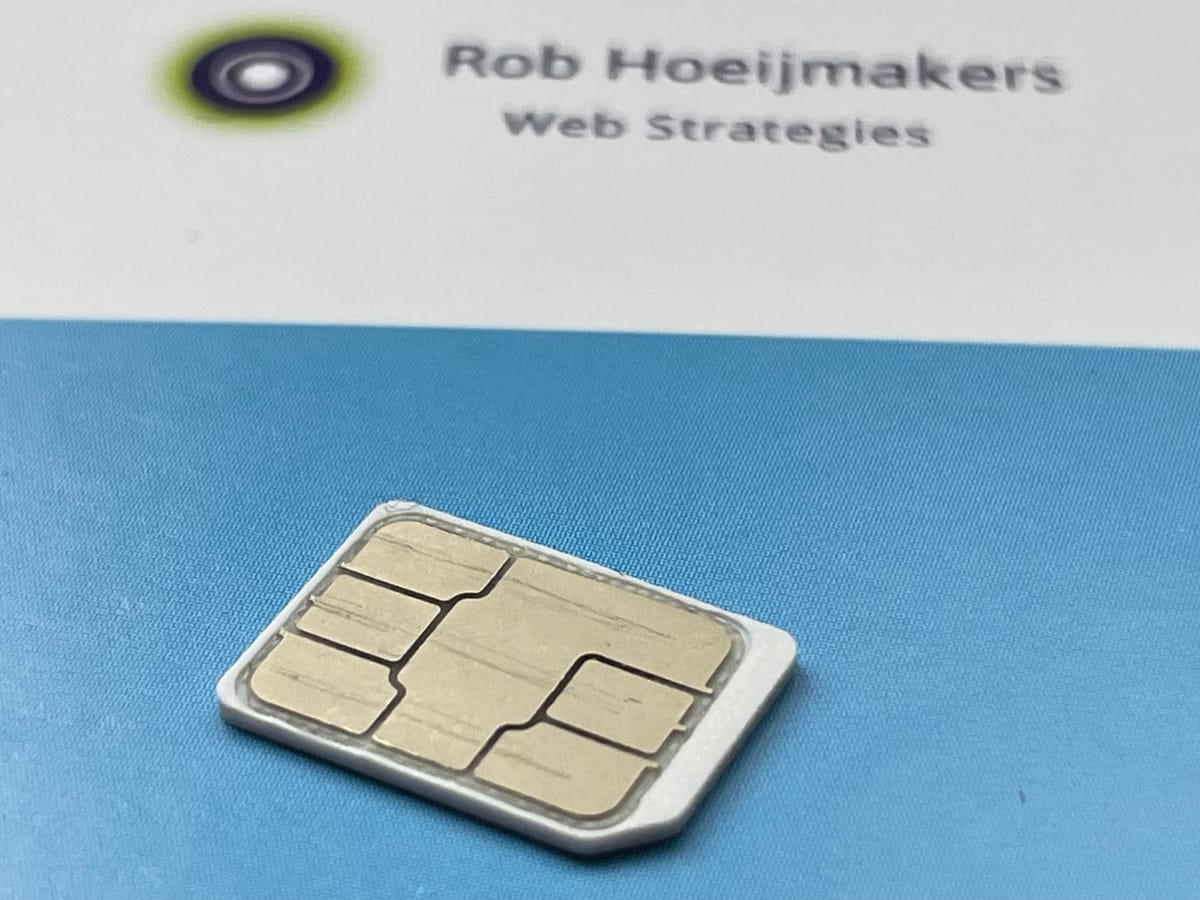
Configuring the Second SIM on iPhone
Installing and configuring the second SIM for business use involved:
- Installation: With the eSIM active, I inserted the physical SIM into the iPhone's slot.
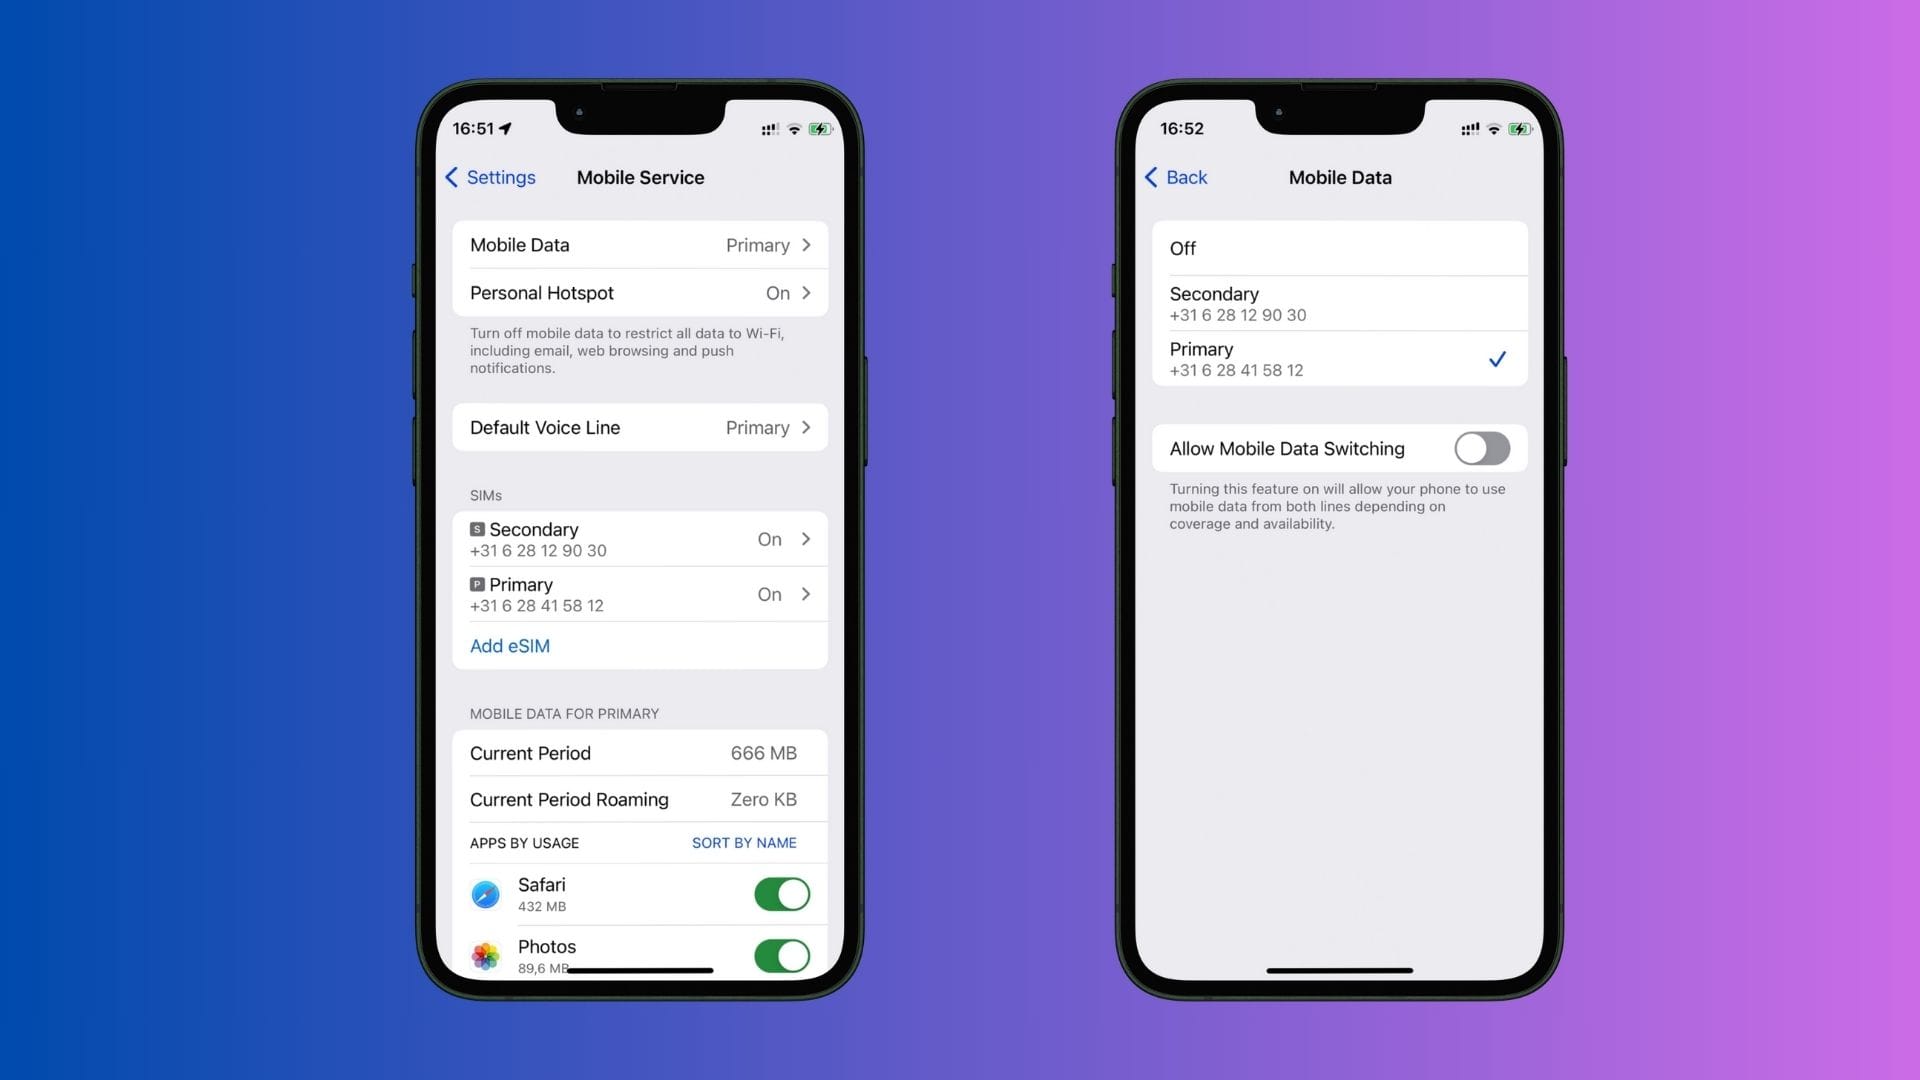
- Configuration: In Settings, I set up the new line, labelling each number (“Primary and “Secondary”) for easy identification.
- Adjust Settings: I fine-tuned settings for messaging, calls, and data usage to ensure a seamless management of both lines.
Day-to-Day Experiences
The dual-SIM setup significantly improved my daily communication management:
- Separation of Communications: Labelling and managing contacts for each number helped keep personal and business communications distinct.
- WhatsApp Management: Using WhatsApp Messenger and Business simultaneously showed no issues, maintaining clear separation between personal and business chats.
- Battery Life: Preliminary observations suggest minimal impact on battery life, though further monitoring is needed.
Increased Flexibility vs. Potential Lock-In
This setup offers undeniable flexibility and convenience, though it raises questions about being more tied to the Apple ecosystem. Despite potential concerns about increased reliance on Apple, the freedom from being bound to a single phone service provider is liberating.
For online professionals seeking to streamline their communication tools, transitioning to an eSIM and utilising a dual-SIM setup can offer significant advantages.
It also opened up my eyes on all sort of roaming deals you can put on your phone when travelling. Even by scanning a QR-code or sending an eSIM from one iPhone to another.