Quick tip: Do screen recording on the iPhone
Quickly recording actions on an iPhone can be very handy. It is also built in by default, but requires some adjustments before you can use it. I briefly outline the steps.
Recording your screen requires a one-off preparation and then some dexterity.
Turn it on once
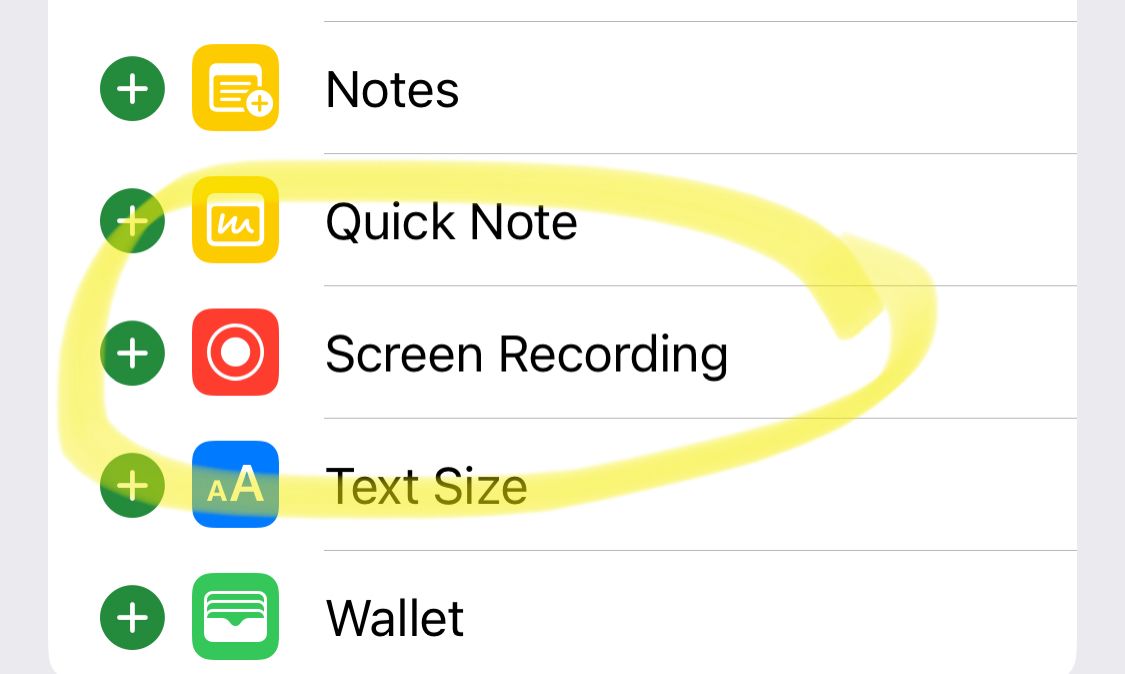
To achieve this, turn on Screen Recording under the Control Centre. You can find it under Settings > Control Centre. There are two lists there. Tools that are active and tools that are inactive. Look for Screen Recording under the inactive tools and activate it by clicking on the plus sign.
Screen recording
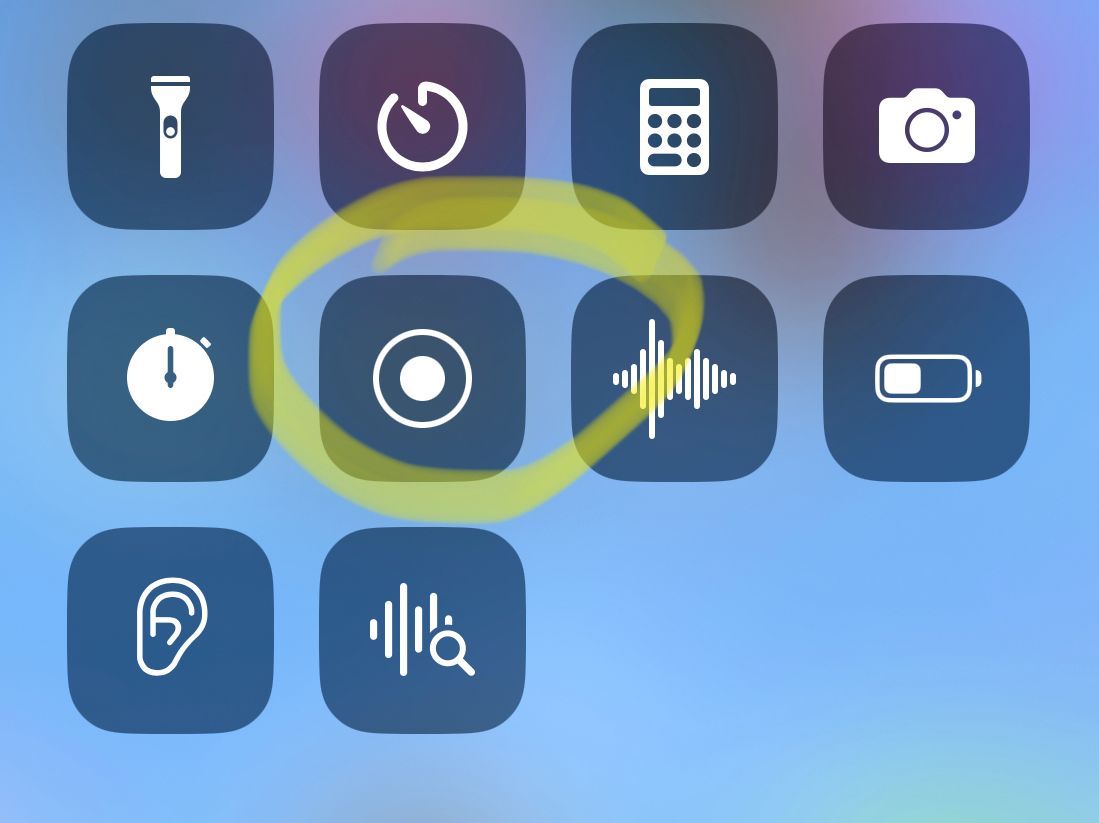
Now that it is on in the Control Centre, you can make a recording. Open the Control Centre by swiping down in the right-hand corner of the screen. In the Control Centre there now is an icon for recording and when you press it, a countdown starts. Close the Control Centre and record what you wanted to record.
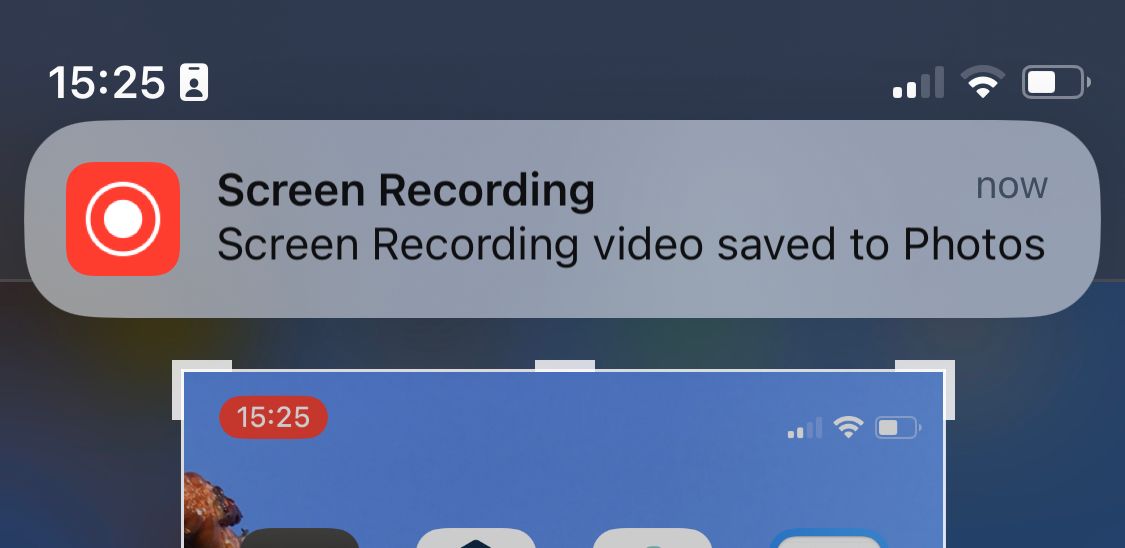
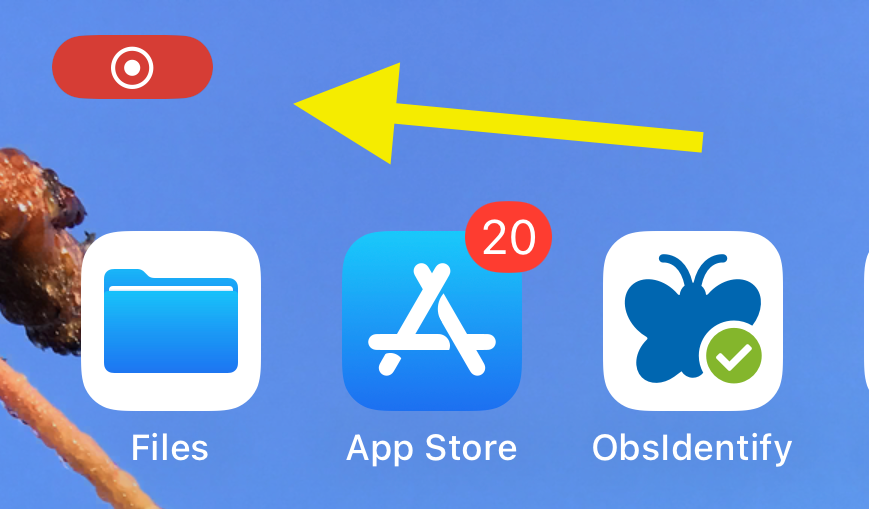
While recording, a red icon will appear in the top-left corner. Once the recording is finished, press that icon, and you can stop it. The clip will be saved with your photos.
Have fun with it!