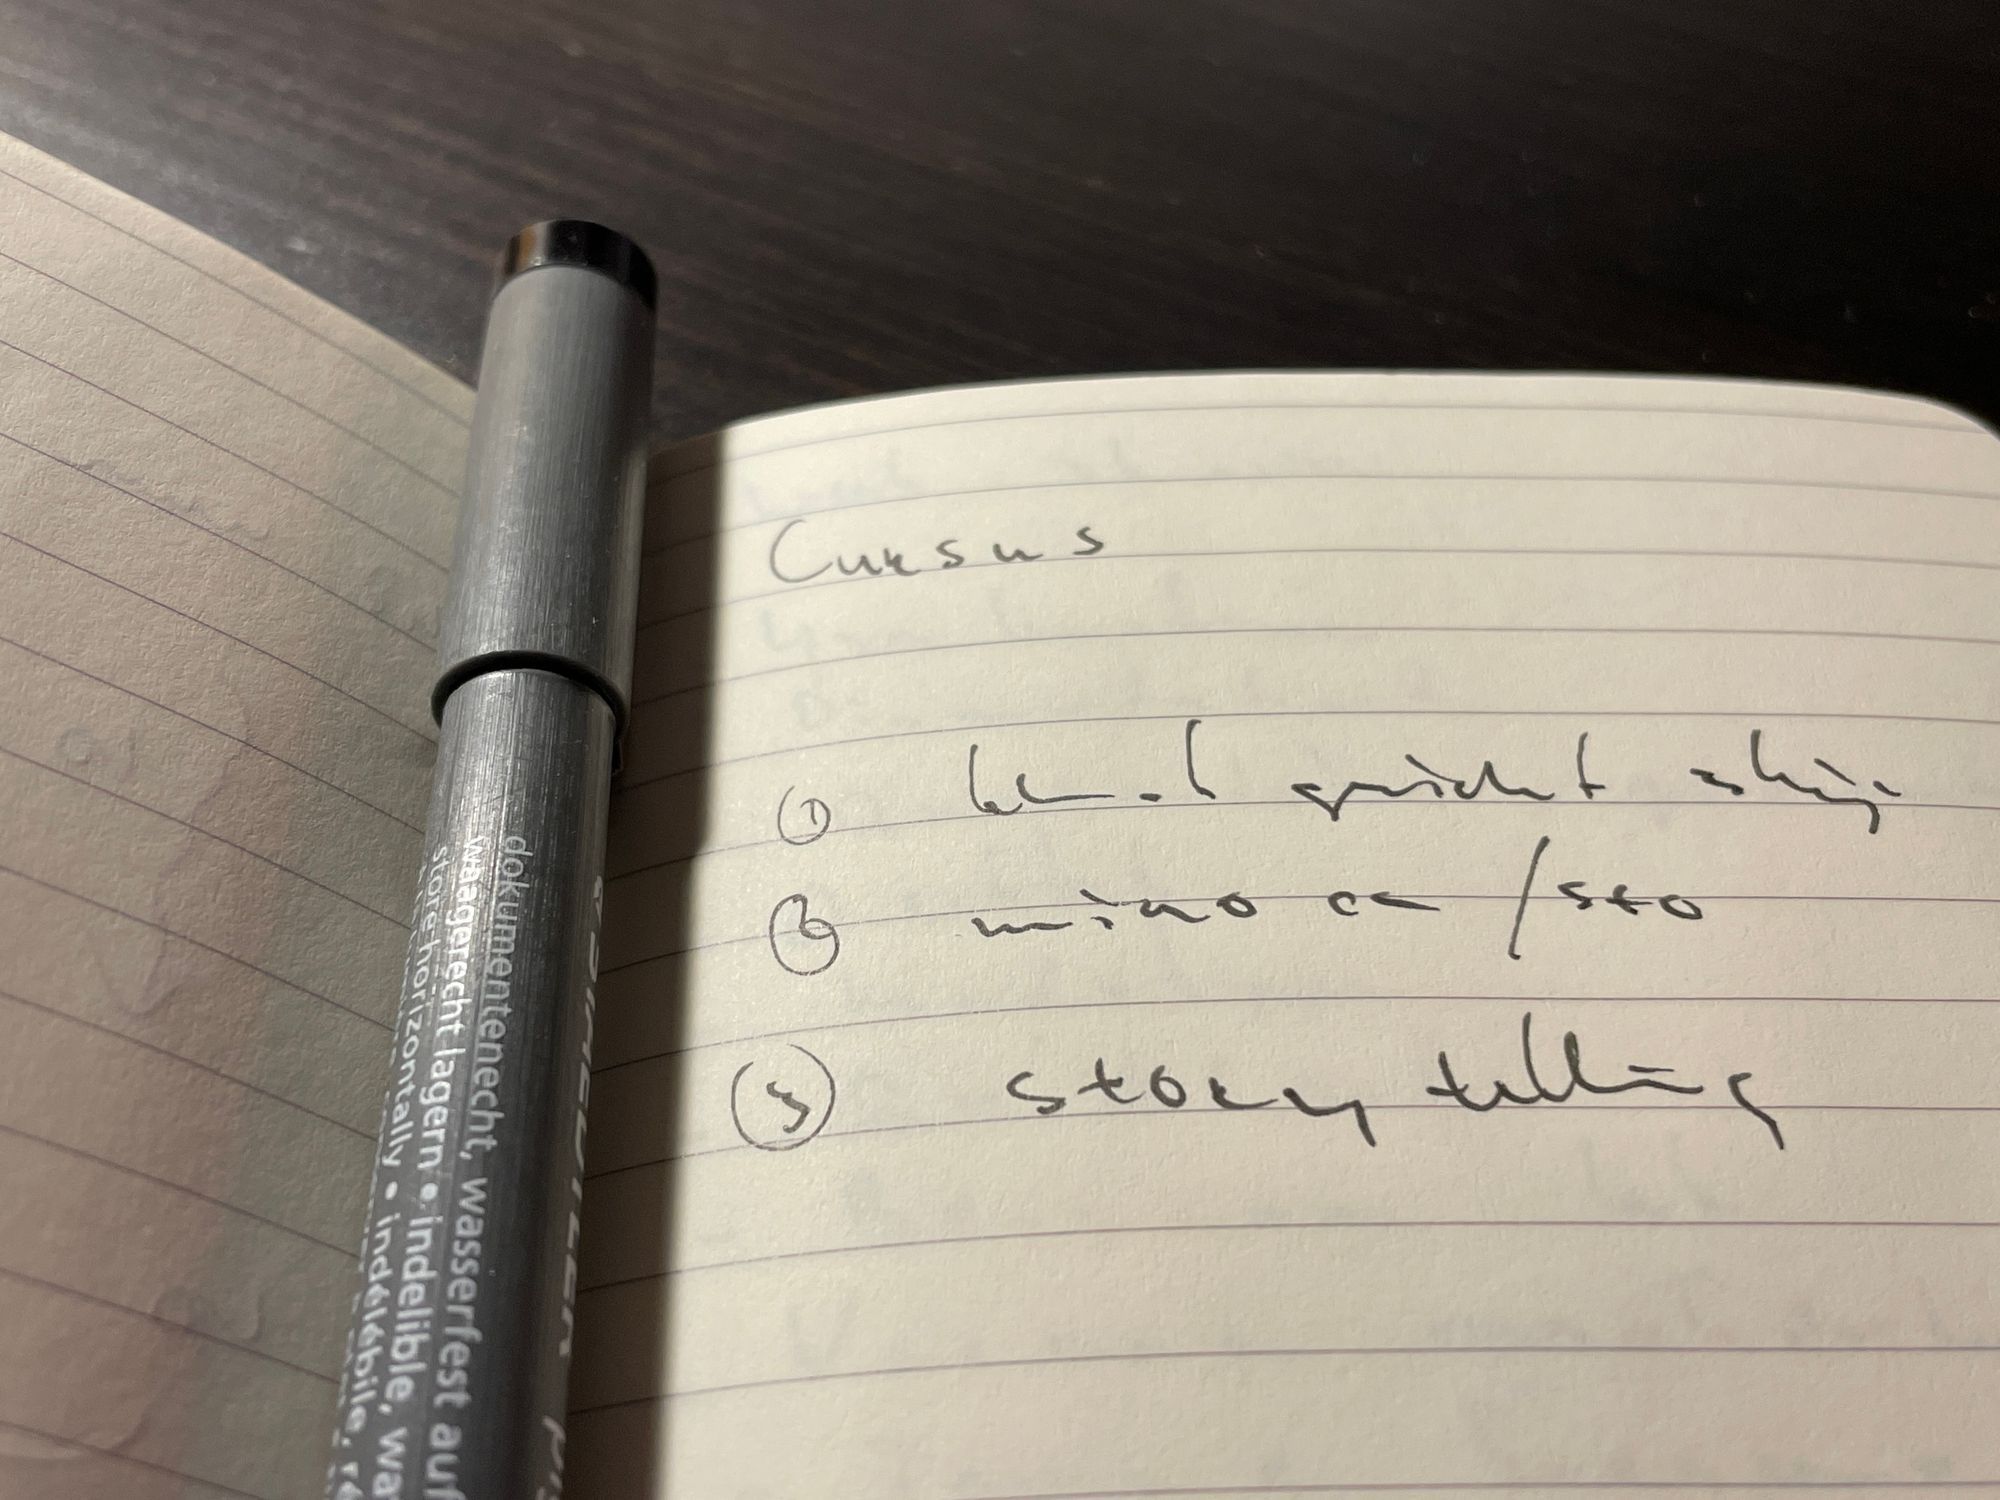
Record and edit a professional screencast
As an online professional I often need to record and screencast software and workflows. Here is my recipe for a productivity boost.
My personal aim was to have a Screencast set up where I can share actions on my screen, comment the actions, both with spoken instructions and visual pointers and distribute it on a modest scale.
The secondary requirements were to have clean and pleasant audio and video with a technical quality that will last 1 to 3 years. Jump in if you are looking for the same.
Computer
Needless to say is that you need a decent computer that can process the information you feed it will producing. In my case I show events happening in the browser and I run Camtasia to record screen, the audio and video stream from the webcam.
Software to record and edit
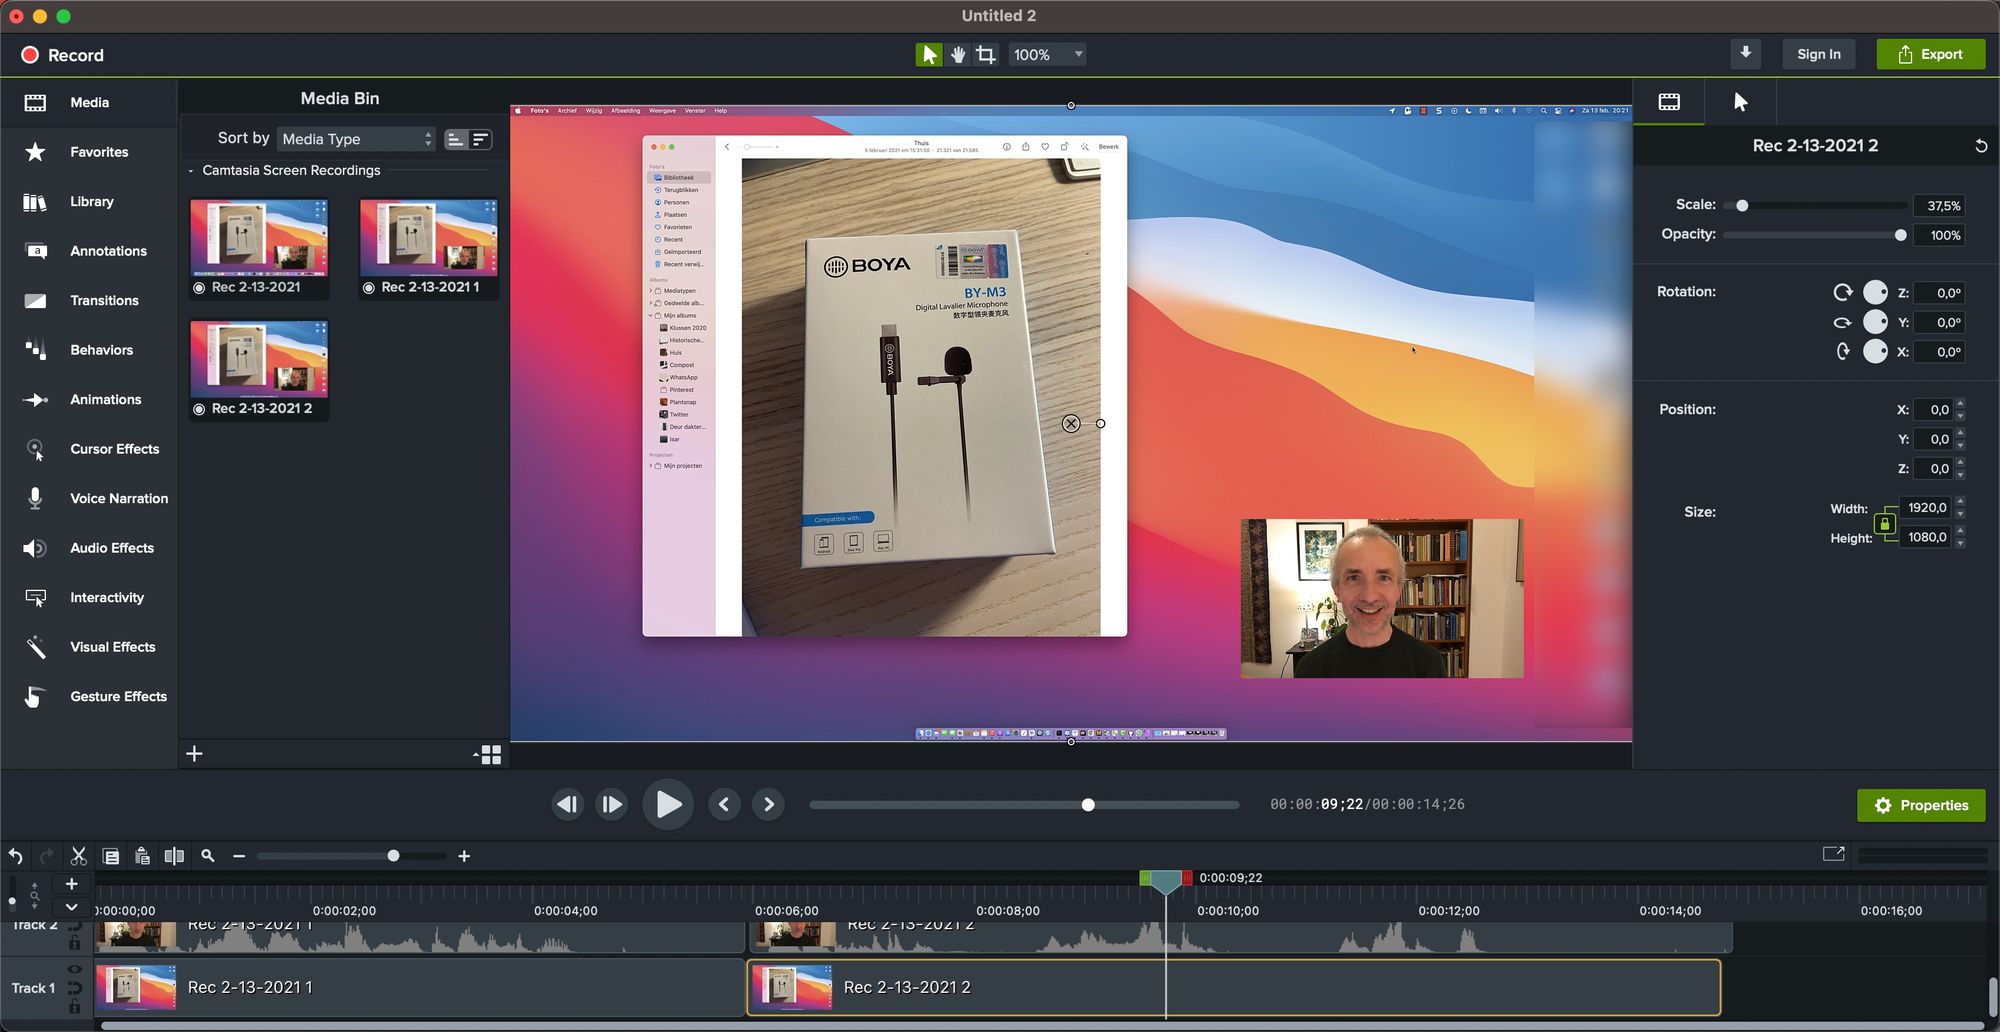
With the screen recording and editing software from Techsmith Camtasia I am really happy. It is intuitive, versatile and affordable. They have good documentation and instruction video’s to get going and support when you hit a bump in the road.
The software enables you to record the screen and then stream from your webcam at the same time. In post production you can then insert the webcam recording as a screen-in-screen addition to your production. With Camtasia you can also insert text, animations, transitions, music etc. You can check the features out at Camtasia from TechSmith and run the free trial.
Webcam
I used a fairly new computer (Apple iMac 2017) but the webcam is poor. In terms of how it deals with light but also in terms of resolution. It records video with a height of 720 pixels (Standard HD) and I personally find that to low of a resolution for a screencast. I upgraded to an external webcam (Logitech C920) that has a resolution with a height of 1080 pixels (Full HD) and is fine for the purpose.
Microphone
The recording sound from the computer is good enough for Zoom calls but not for recording audio for instructive purposes. The build in microphone picked up too many sounds from mouse, keyboard and other ambient noise.
I first tried to solve this with a podcast microphone (Blue Yeti) but that was aiming too high. That gives a rich, radio like voice but also picks up other noises (requires a quiet environment) and it is a bit of dominant device if you also record video.
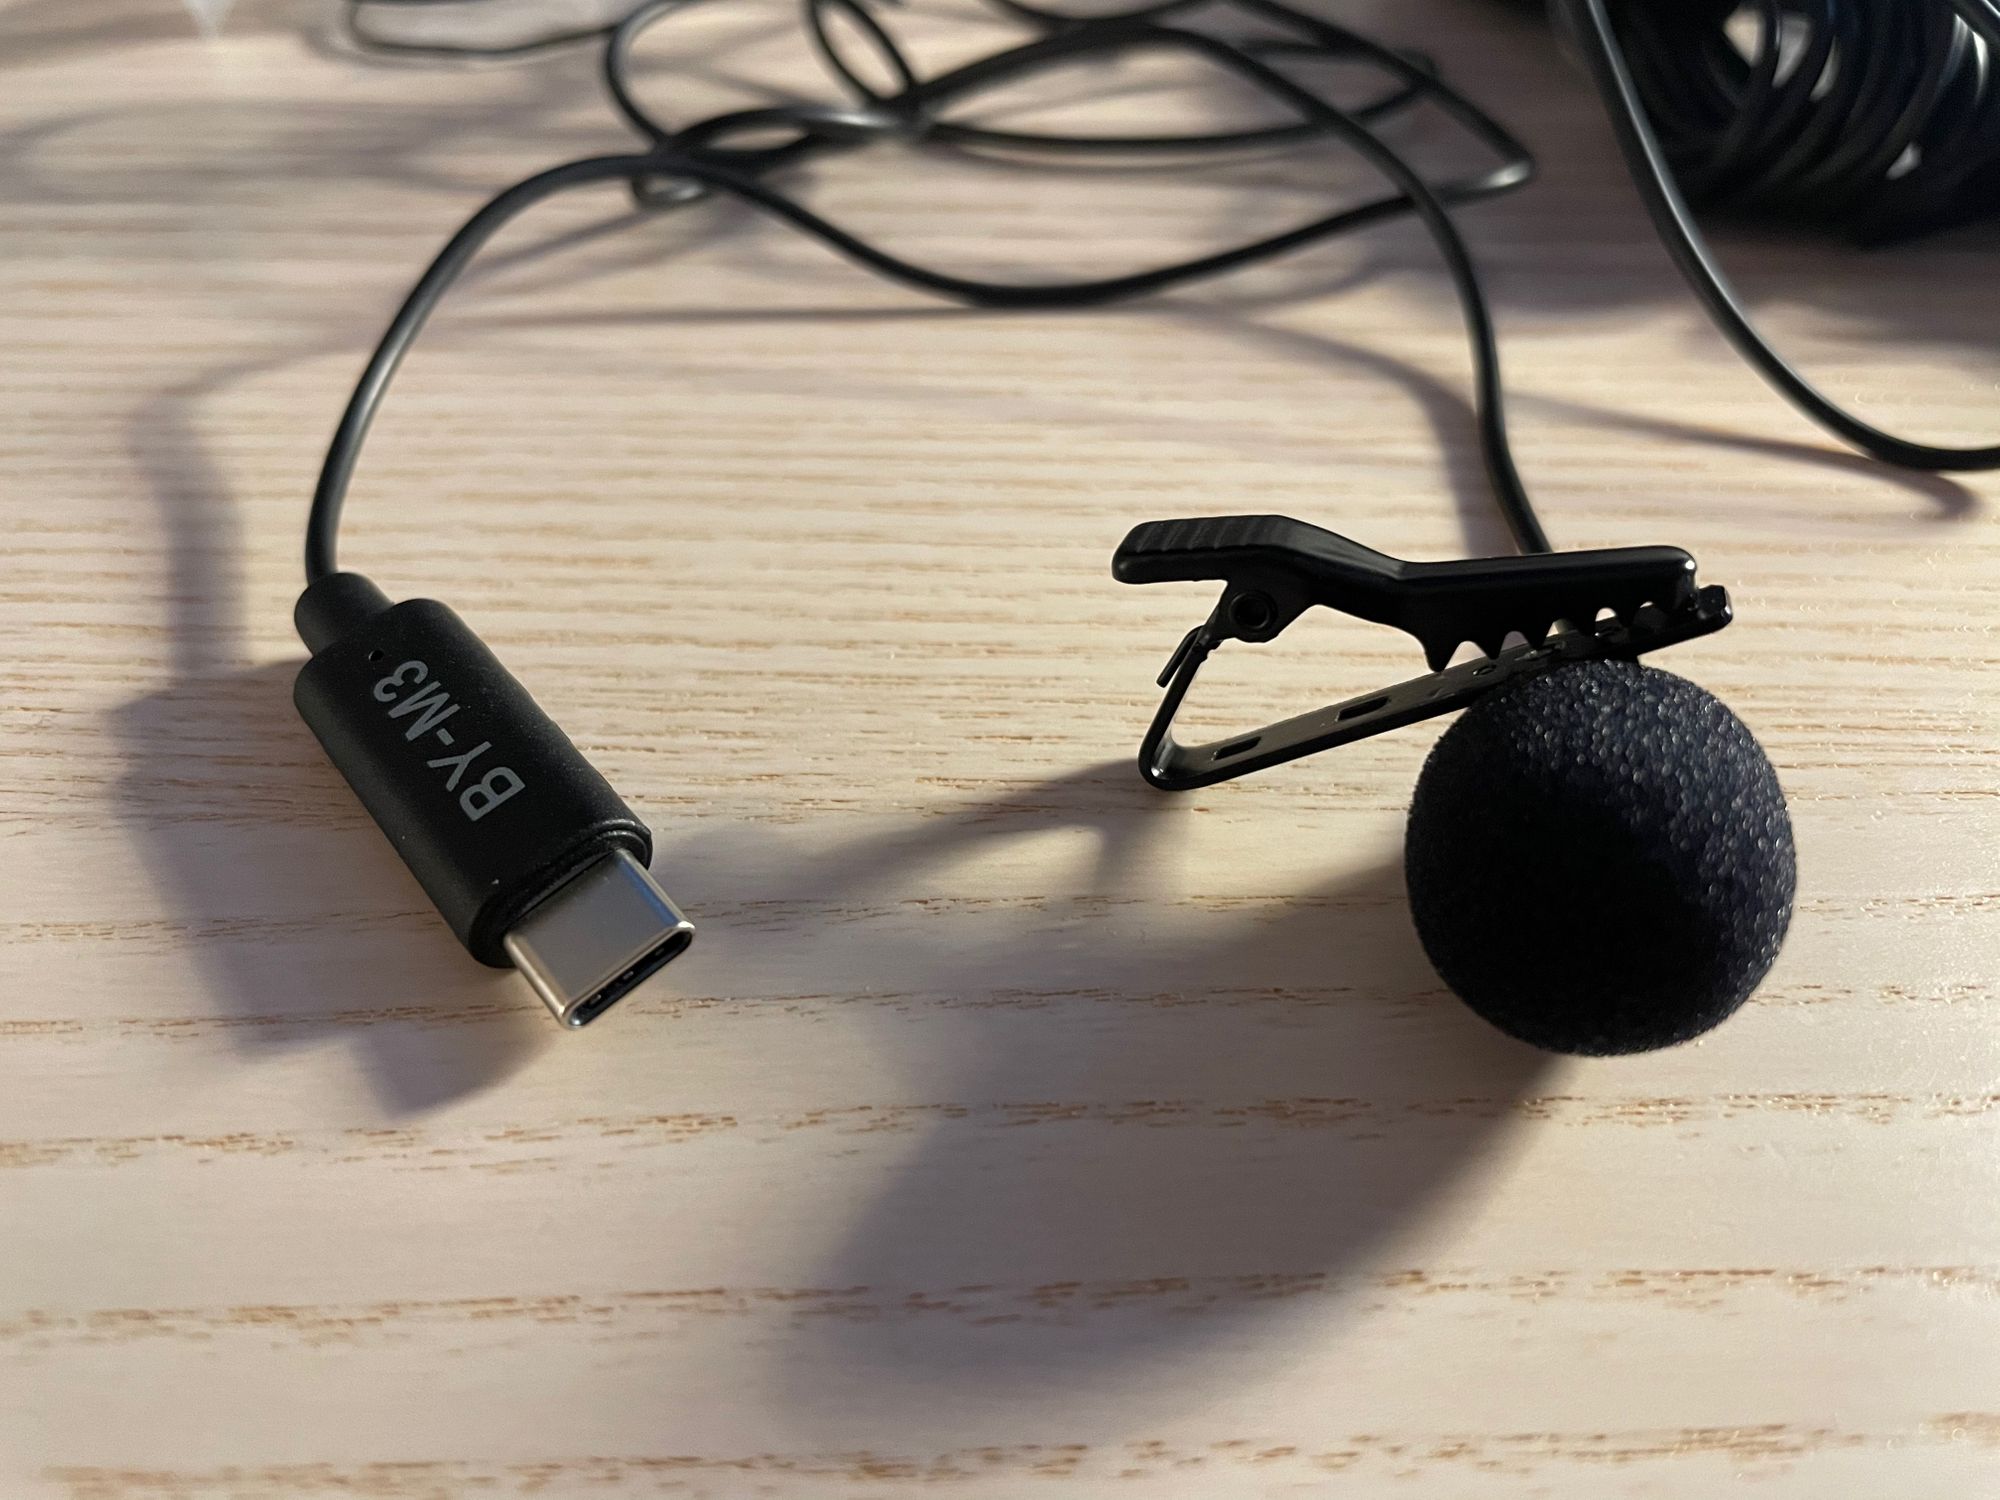
I bought a so called Lavalier microphone and made sure it was a wired one. This type of microphone you pin on your clothing and keep it close to the source of the sound (your mouth). The one I bought is digital (USB-C) and plug and play (Boya M3 Lavalier).
Lighting
Once this was all in place I was able to properly record and edit screencasts. Had to work a bit on the lights in the room to make sure that the light sources gave soft, diffused light from multiple sides. I learned a lot from this video from Julie Schiro.
Lighting hacks bij Julie Schiro. Check out her channel for other great tips to enhance your digital audio and video.
With this setup I was able to produce my own high quality screencasts with clear, enjoyable audio, clean screen-in-screen video of the instructor and crisp display of the actions on the screen.